Painting a portrait is a rewarding artistic endeavor, and using water mixable oils makes the process more accessible and less messy than traditional oils. Whether you’re a beginner or an intermediate artist, this guide will walk you through the steps to create a stunning portrait using water-mixable oils. Plus, we’ve included a helpful video tutorial to guide you visually!
Why Choose Water Mixable Oils?
Water mixable oils combine the rich, blendable qualities of traditional oils with the convenience of water-based paints. Here’s why they’re great for portraits:
- Easy Cleanup: Clean your brushes with water instead of harsh solvents.
- Low Odor: Perfect for artists who are sensitive to the strong smell of traditional oils.
- Versatility: Can be used thickly like traditional oils or thinned with water for a watercolor-like effect.
- Drying Time: They dry faster than traditional oils but still allow for blending and reworking.
Materials You’ll Need
Before you start, gather these materials:
- Water mixable oil paints (basic colors: titanium white,cad yellow, cad red, alizarin crimson, burnt umber, ultramarine blue, ivory black).
- Brushes (a variety of sizes, including fine detail brushes).
- Canvas or primed painting surface.
- Palette for mixing colors.
- Water for thinning and cleaning.
- Paper towels or rags.
- Optional: Mediums like water mixable linseed oil for added flow. I just use water on the video.
Step 1: Prepare Your Workspace
Set up your canvas on an easel or flat surface. Ensure you have good lighting to see the details of your subject. Lay out your paints, brushes, and water containers within easy reach.
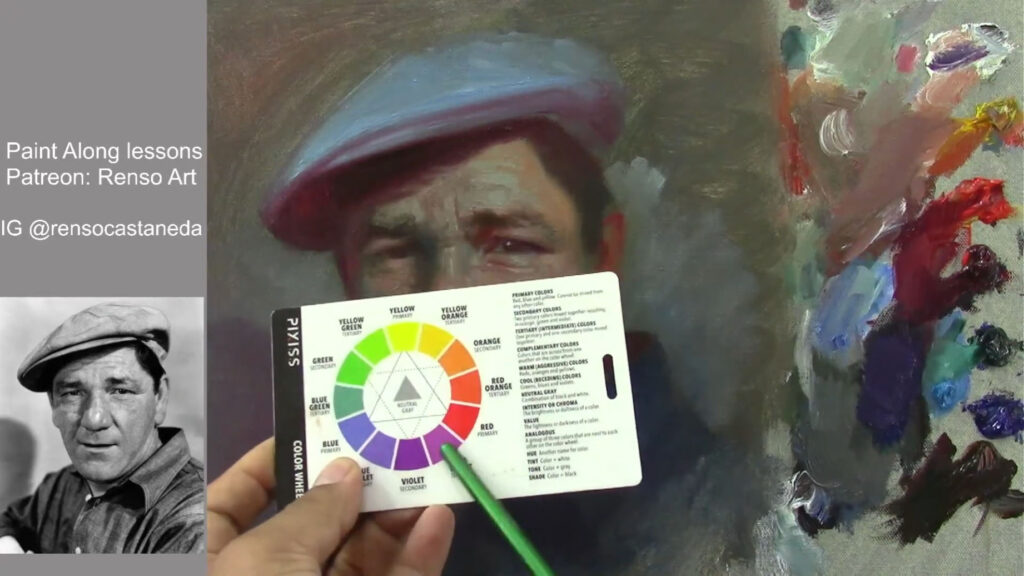
Step 2: Choose a Reference Photo
Select a clear, high-resolution photo of your subject. Pay attention to the lighting and expression, as these will influence the mood of your portrait. If you’re new to portraiture, choose a photo with simple lighting and minimal shadows.
Step 3: Sketch the Outline
Using a pencil or a thin brush with diluted paint, lightly sketch the basic shapes of the face. Focus on the placement of the eyes, nose, mouth, and ears. Don’t worry about details at this stage—just establish the proportions and composition.
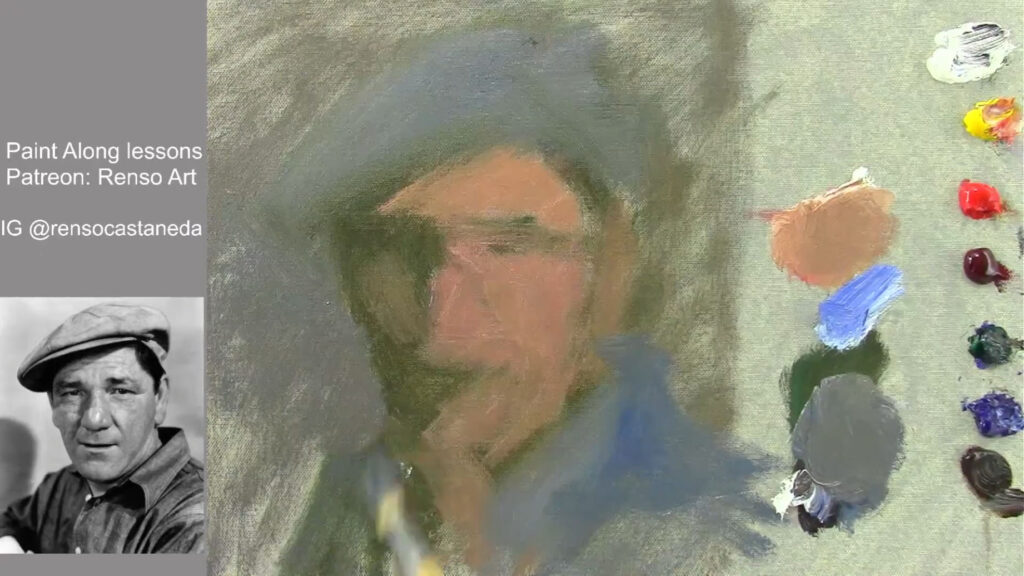
Step 4: Block in the Base Colors
Start by applying thin layers of paint to block in the main colors of the face, hair, and background. Use larger brushes for this step and keep the paint diluted with water for easier application. Focus on the overall shapes and avoid getting bogged down in details.
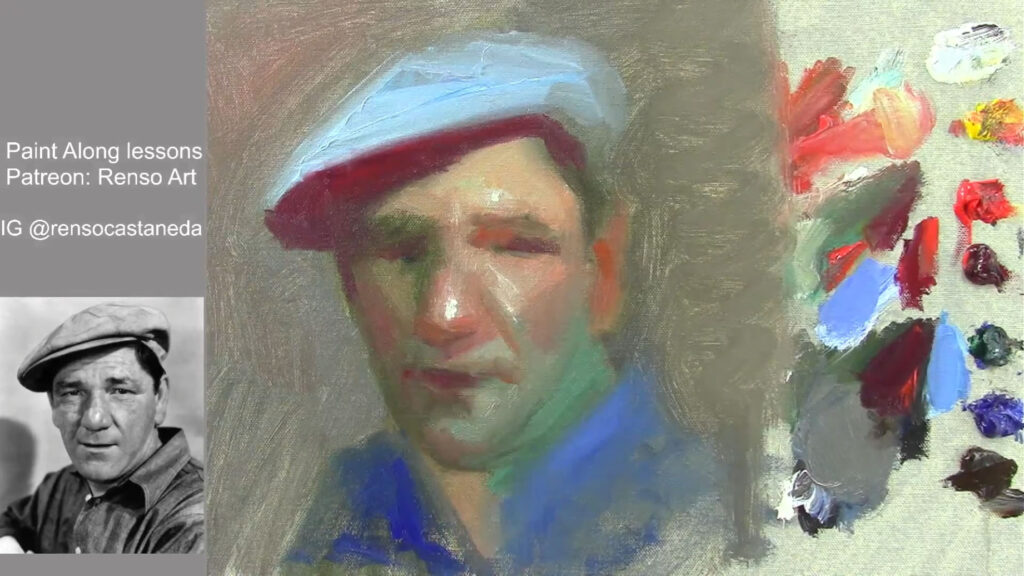
Step 5: Build Up the Layers
Once the base layer is dry (water-mixable oils dry faster than traditional oils, but you can still blend for a few hours), begin adding more layers to define the features. Use smaller brushes for details like the eyes, nose, and lips. Pay attention to the shadows and highlights to create depth and dimension.
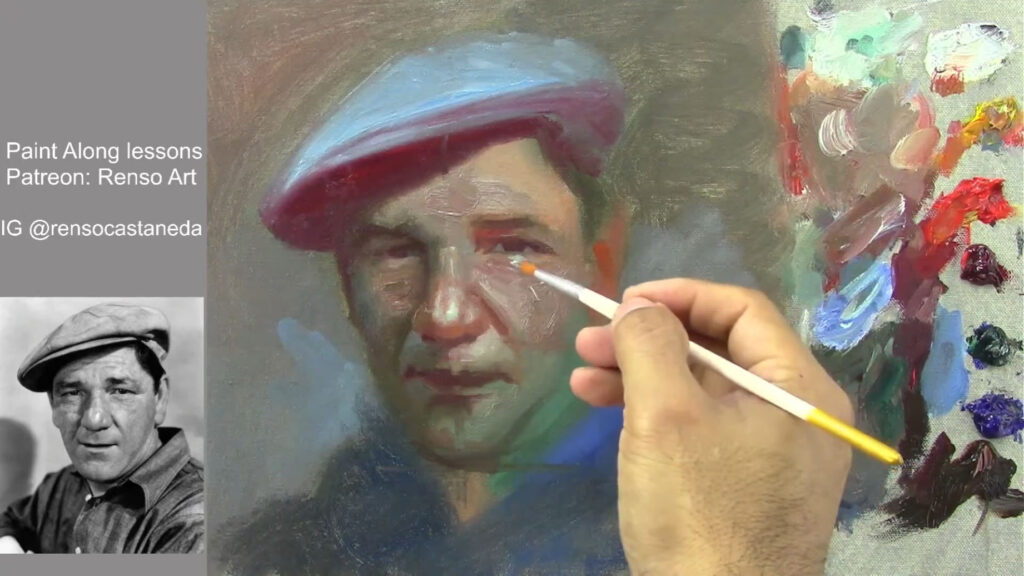
Step 6: Refine the Details
As you progress, refine the details of the face. Add texture to the skin, define the hair, and enhance the expression. Use a fine brush for intricate areas like the eyelashes and eyebrows. Don’t forget to step back occasionally to assess the overall balance of your portrait.
Step 7: Add the Background
The background should complement the subject without overpowering it. Use softer colors and less detail to keep the focus on the face. You can blend the edges of the portrait into the background for a seamless look.
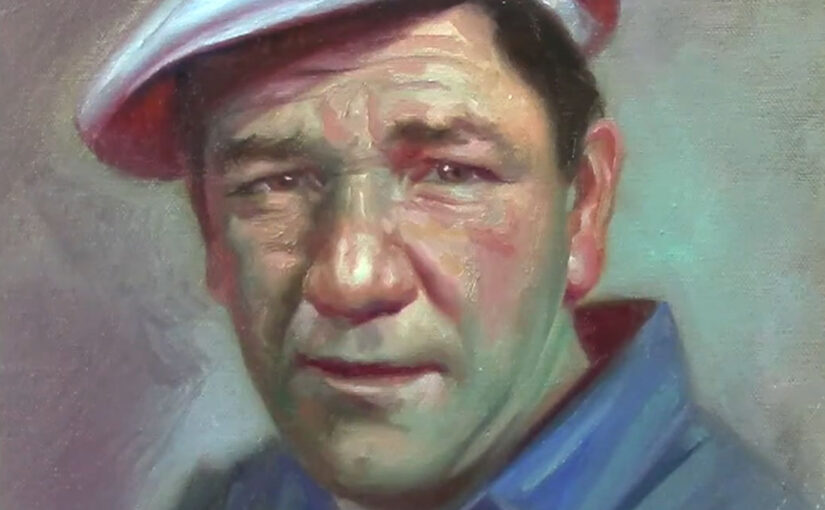
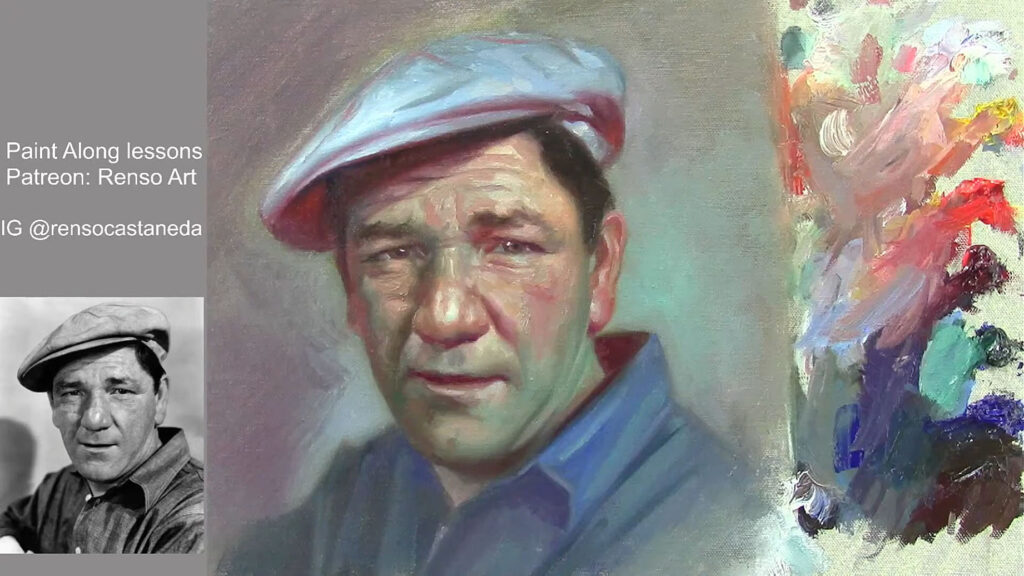
Step 8: Final Touches
Review your portrait and make any final adjustments. Add highlights to the eyes and lips to bring them to life. Soften any harsh lines and ensure the skin tones are blended smoothly. Sign your work in the corner once you’re satisfied.
Tips for Success
- Work from General to Specific: Start with broad shapes and gradually add details.
- Use a Limited Palette: Mixing fewer colors will help maintain harmony in your portrait.
- Experiment with Water: Use more water for a translucent effect or less for thicker, impasto textures.
- Practice Patience: Allow layers to dry before adding new details to avoid muddy colors.
Video Tutorial
To make this process even easier, we’ve created a step-by-step video tutorial! Watch as we demonstrate each stage of painting a portrait with water-mixable oils, from the initial sketch to the final touches. Follow along and pause as needed to work at your own pace.
Conclusion
Painting a portrait with water-mixable oils is a fulfilling experience that combines the richness of oil paints with the convenience of water-based mediums. With practice and patience, you’ll be able to create lifelike, expressive portraits that capture the essence of your subject. Don’t forget to share your finished work in the comments below—we’d love to see your creations!
Happy painting! 🎨✨