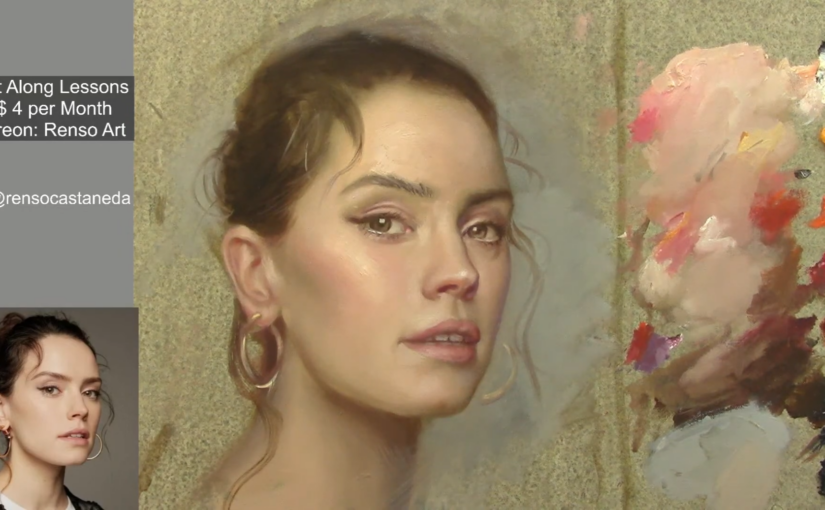
Portrait painting is a joyful dance of observation, technique, and patience. In this article, I’ll take you behind the scenes of my creative process, sharing tips and tricks that have brought so much life to my work. Whether you’re just starting your artistic journey or looking to take your skills to the next level, these insights will help you capture the heart and soul of your subject. Let’s create something beautiful together
1. Starting with the Basics: Simplifying Complex Forms
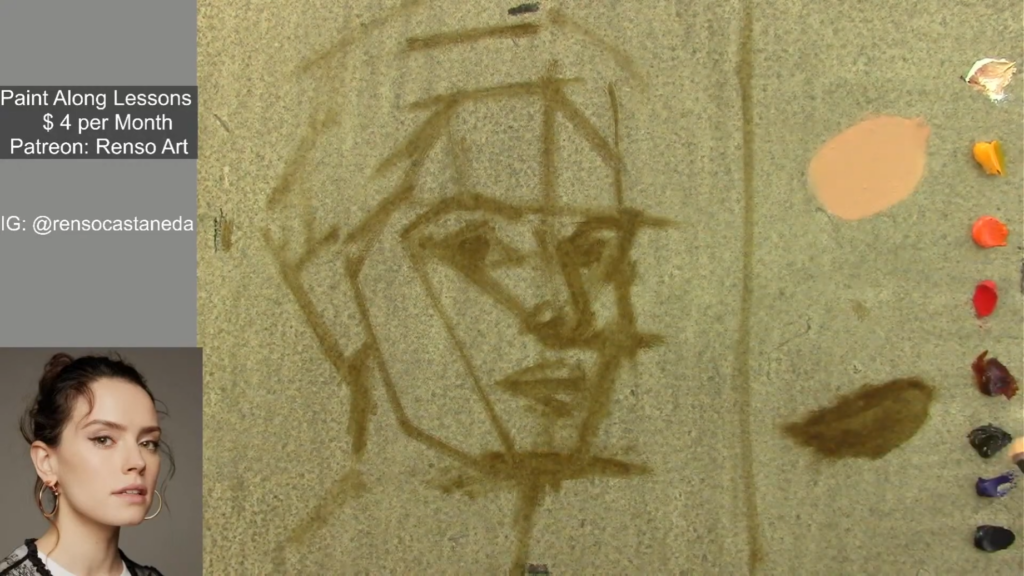
Every portrait begins with a blank canvas and a vision. To tackle the complexity of the human face, I start by breaking it down into simple shapes. For this portrait, I began by sketching the forehead as a triangle and the rest of the features as simple geometrical shapes. This approach helps establish proportions and placement before diving into details.
2. The Power of Squinting: Seeing Values and Shapes
Throughout the process, I squint my eyes—a habit I’ve developed to simplify what I see. Squinting helps me focus on values and shapes, stripping away unnecessary details. It’s a trick I highly recommend to students. By training your eye to see the big picture first, you can avoid getting lost in the minutiae.
3. The Classical Approach: Underpainting and Layering
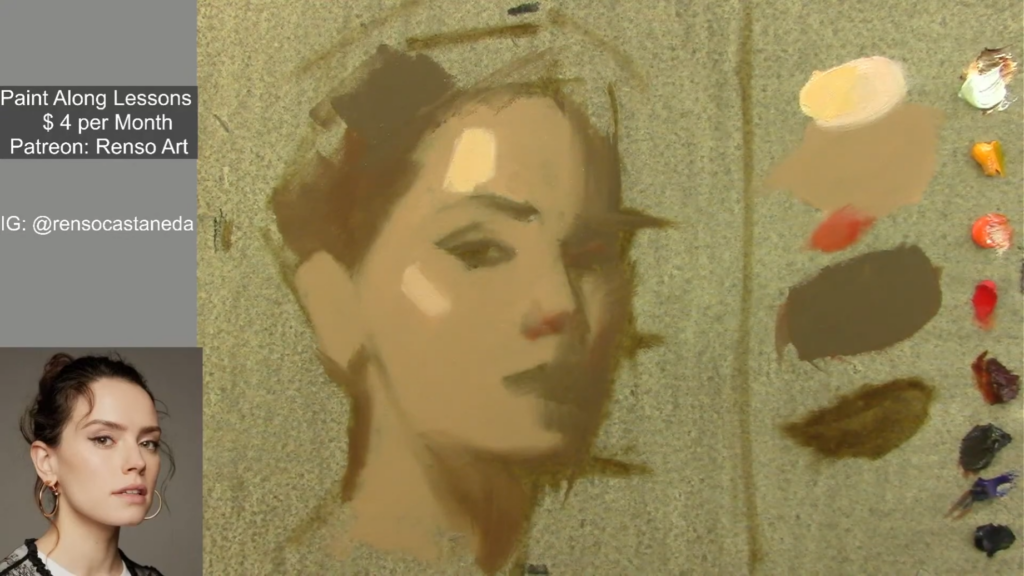
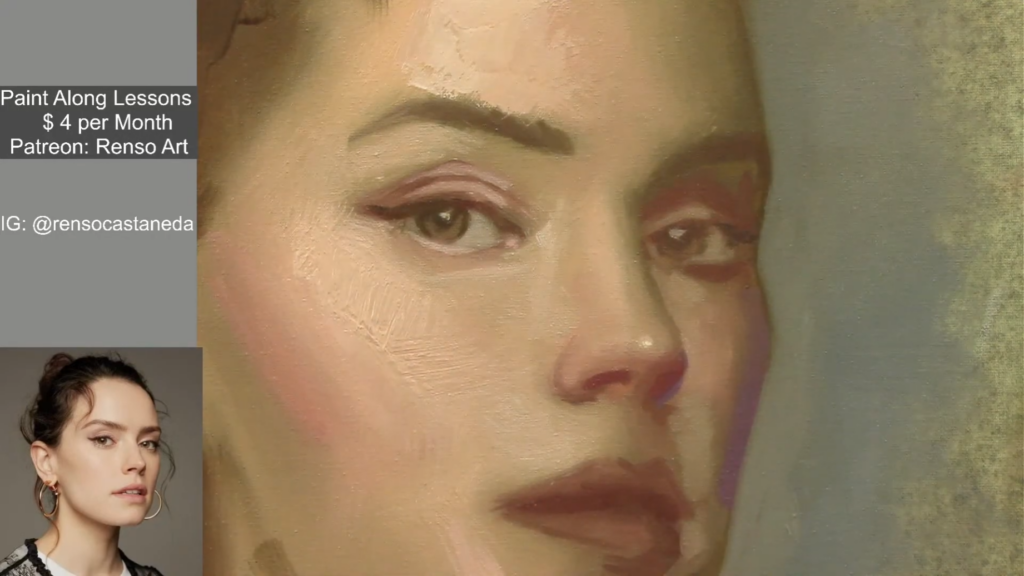
One of my favorite techniques is underpainting with green. This classical method, often used by the Old Masters, creates a luminous base that adds depth to the final piece. As I layered the paint, I aimed for a museum-like quality—soft edges, rich tones, and a timeless feel.
For skin tones, I mixed burnt umber, cadmium red, and yellow, gradually building up the layers. The goal was to achieve a translucent effect, allowing the green undertones to subtly shine through. This technique requires patience and a keen eye for color harmony, but the results are worth it.
4. Refining the Details: Drawing and Painting Simultaneously
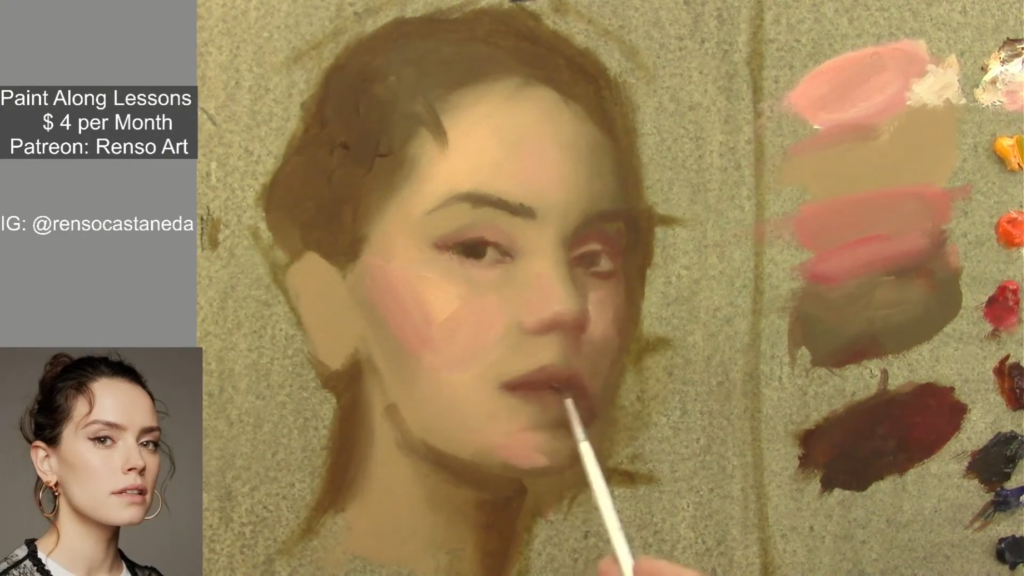
As I progressed, I switched between drawing and painting modes. Using a fine liner brush, I refined the features, paying close attention to the eyes, nose, and mouth. The key is to simplify what you see—focus on shapes and values rather than getting bogged down by details.
For the eyes, I used pure black for the pupils and added subtle highlights to create depth. The nose and mouth were shaped using simple forms, with careful attention to light and shadow. This step-by-step approach ensures accuracy and likeness.
5. The Importance of Softness: Blending and Transitions
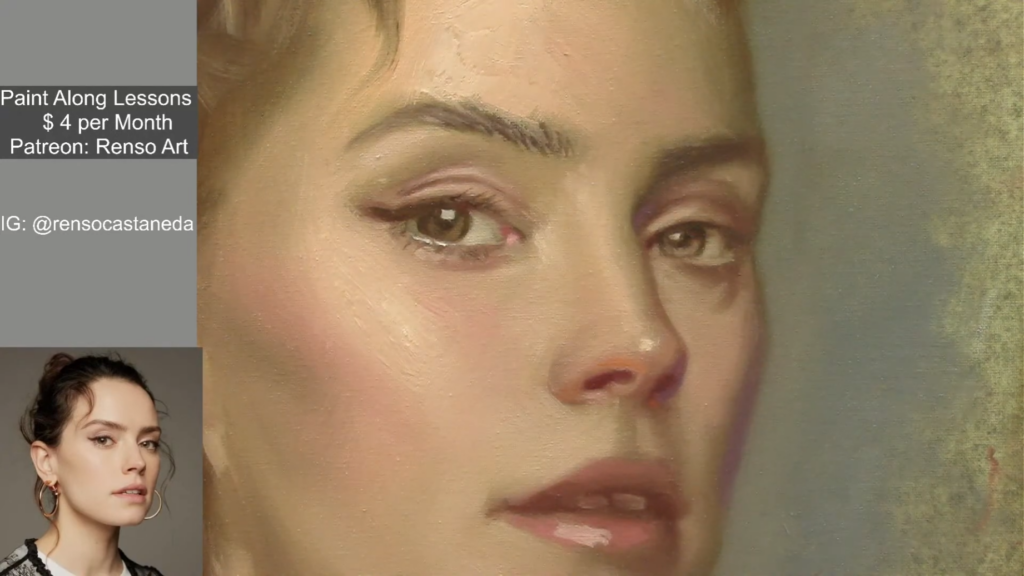
Soft edges are crucial for achieving a lifelike appearance. I used a clean brush to blend the colors, creating smooth transitions between light and shadow. This step is especially important for areas like the cheeks and chin, where the skin should appear soft and natural.
I also paid close attention to the lightest highlights, placing them on the tip of the nose and the cheeks. These subtle touches added warmth and dimension to the face. Remember, portrait painting is about balance—knowing when to add detail and when to step back.
6. Final Touches: Adjusting Values and Perfecting Likeness
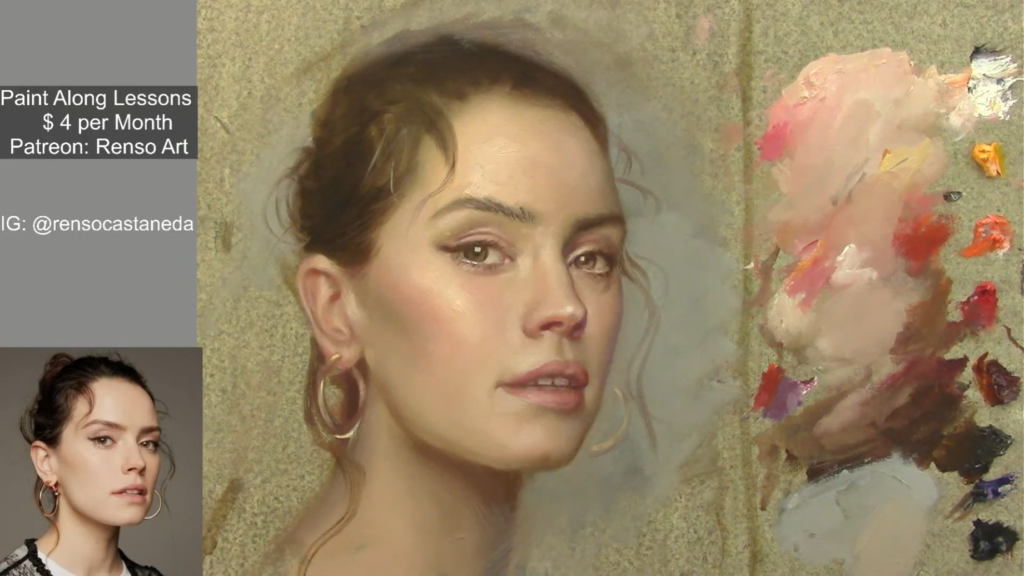
As I neared the end of the painting, I stepped back to assess the overall composition. Using Photoshop, I compared my painting to the reference photo, identifying areas that needed adjustment. Darkening the shadows and adding more light to the highlights helped refine the likeness.
The final touches included softening edges, adding subtle details to the eyes, and adjusting the background to complement the portrait. These small changes made a big difference, bringing the painting to life.
7. Lessons from the Studio: Patience and Practice
Portrait painting is a journey of patience and practice. It’s about embracing the process, learning from mistakes, and continually refining your skills. As I worked on this portrait, I was reminded of the importance of observation, technique, and perseverance.
To all the art students and portrait enthusiasts reading this, I encourage you to keep practicing. Experiment with techniques, learn from your mistakes, and never stop creating. Every brushstroke is a step forward in your artistic journey.
Viewer Questions and Answers
Throughout the painting session, I received several questions from viewers. Here are some of the most common ones, along with my answers:
Q: What kind of brushes do you use?
A: I use synthetic brushes for most of my work. They’re durable, easy to clean, and work well with both oil and acrylic paints. For blending, I prefer softer brushes to create smooth transitions.
Q: Do you recommend using a grid for portraits?
A: Absolutely! Grids are a great tool for ensuring accurate proportions, especially for beginners. They help break down the face into manageable sections and make it easier to capture the likeness.
Q: How do you clean your brushes when painting with oils?
A: I use a combination of turpentine and linseed oil to clean my brushes. After wiping off excess paint, I dip the brushes in turpentine, then rinse them with soap and water. It’s important to keep your brushes clean to maintain their shape and longevity.
Q: What’s your opinion on glazing?
A: Glazing is a fantastic technique for adding depth and richness to a painting. It involves applying thin, transparent layers of paint over dry layers. I often use glazes to enhance skin tones or create subtle color shifts. Just remember to let each layer dry completely before adding the next.
Q: How do you achieve realistic skin tones?
A: Skin tones are all about layering and blending. I start with a neutral base color and gradually build up warmer and cooler tones. Pay attention to the light source and how it affects the shadows and highlights on the face.
Q: Do you recommend going to art school to learn painting?
A: Art school can be a great way to learn, but it’s not the only path. Many artists are self-taught and learn through practice, online tutorials, and studying the work of others. The key is consistent practice and a willingness to learn from your mistakes.
Conclusion: Art as a Journey
Painting is more than just a skill; it’s a way of seeing the world. It’s about finding beauty in the ordinary, turning mistakes into opportunities, and sharing stories through your work. Whether you’re painting a portrait or exploring other subjects, remember that every piece you create is a reflection of your unique perspective.
Keep painting, keep learning, and most importantly, enjoy the process.