Introduction
Hi. Today, I’m taking you along as I paint a portrait from scratch. I’ll be sharing my process, tips, and techniques, and hopefully, you’ll find some inspiration for your own artistic journey. Whether you’re an experienced artist or just starting out, I hope this session gives you a glimpse into my world of portrait painting.
The Palette: My Symphony of Colors
I always start by setting up my palette, and today is no different. Here are the colors I’ve chosen for this portrait:
- Titanium White
- Chrome Yellow
- Naples Yellow
- Deep Cam Orange
- Cam Red
- Alizarin Crimson
- Raw Umber
- Ivory Black
- Emerald Green
These colors are my tools for creating harmony and depth in the painting. Each one has its own personality, and I love experimenting with how they interact on the canvas.
The Process: From Sketch to Life
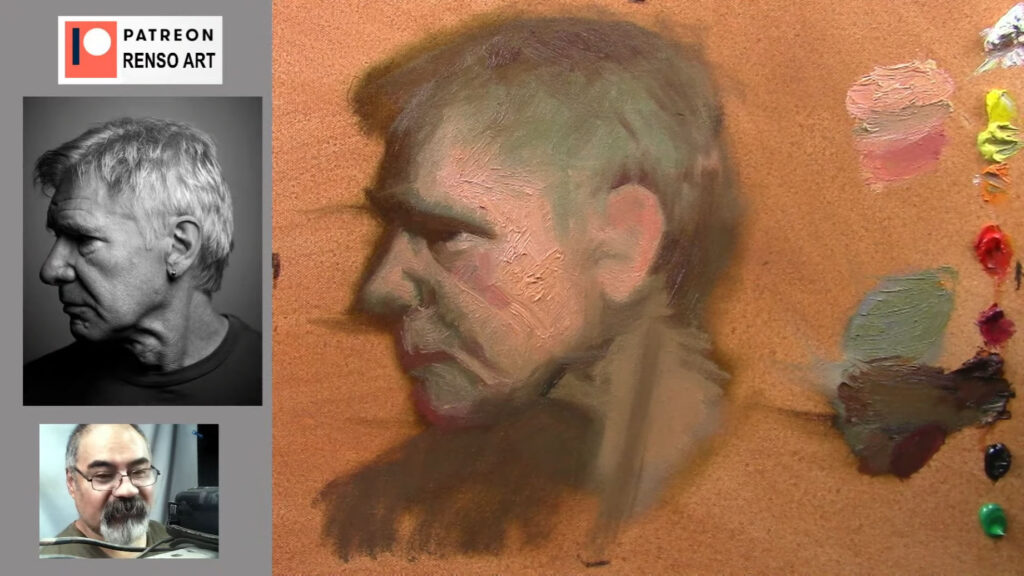
I begin by sketching the portrait using Raw Umber. It’s a warm, earthy tone that’s perfect for laying down the initial shapes. I always squint my eyes when I sketch—it helps me simplify the image and focus on the dark shapes and shadows. This technique keeps me from getting lost in the details too early.
As I sketch, I love interacting with my viewers. Today, I’m greeted by Michael from Austria, Christine, Monique, and many others. It’s always a joy to connect with people from all over the world while I paint. It makes the process feel like a shared experience.

The Art of Observation and Measurement
One of the most important things I’ve learned about portrait painting is to pay attention to the distances between key facial features—like the eyebrows, nose, and chin. While these measurements aren’t always perfect, they serve as a guide to keep the proportions in check. It’s a combination of observation and measurement that helps me achieve a realistic likeness.
Painting from Black and White: My Creative Freedom
I often paint from black and white photographs because it gives me the freedom to create my own color harmony. Without the constraints of the original colors, I can experiment with different palettes and moods. Sometimes I keep the face muted, and other times I add vibrant colors. It’s all about what feels right in the moment.
Layering Colors: Building Depth and Texture
I start with a base layer of muted grayish-green, which acts as the foundation for the portrait. This thin layer allows me to build up more colors on top without the painting becoming muddy. I love how the colors blend and interact as I add more layers. It’s like watching the portrait come to life, one brushstroke at a time.
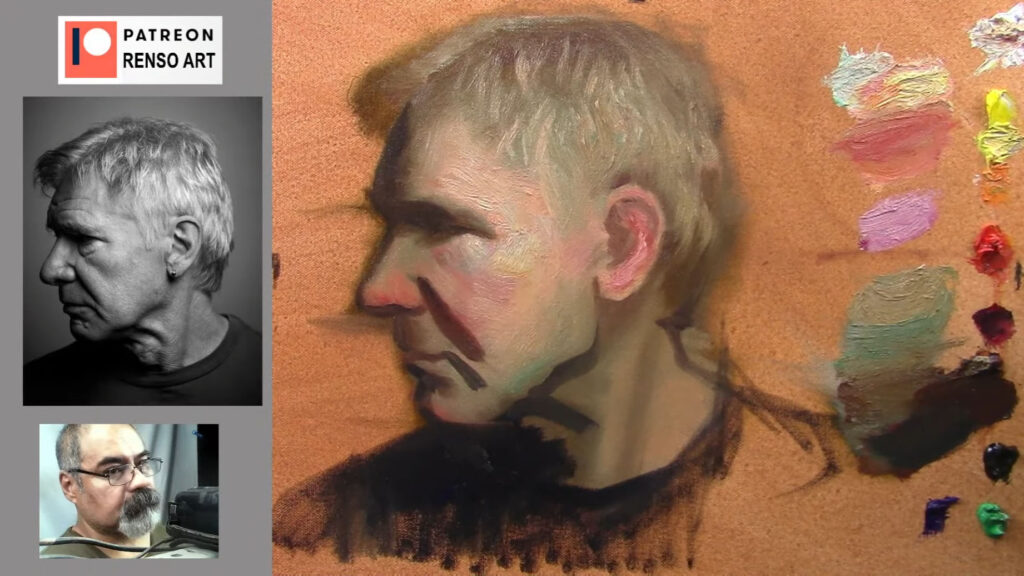
I’m careful not to use too much paint in the beginning. If the base layer is too thick, it can be hard to add vibrant colors on top. Instead, I keep it thin and build up gradually. This way, I can adjust the colors and tones as I go.
The Role of Texture: Adding Dimension
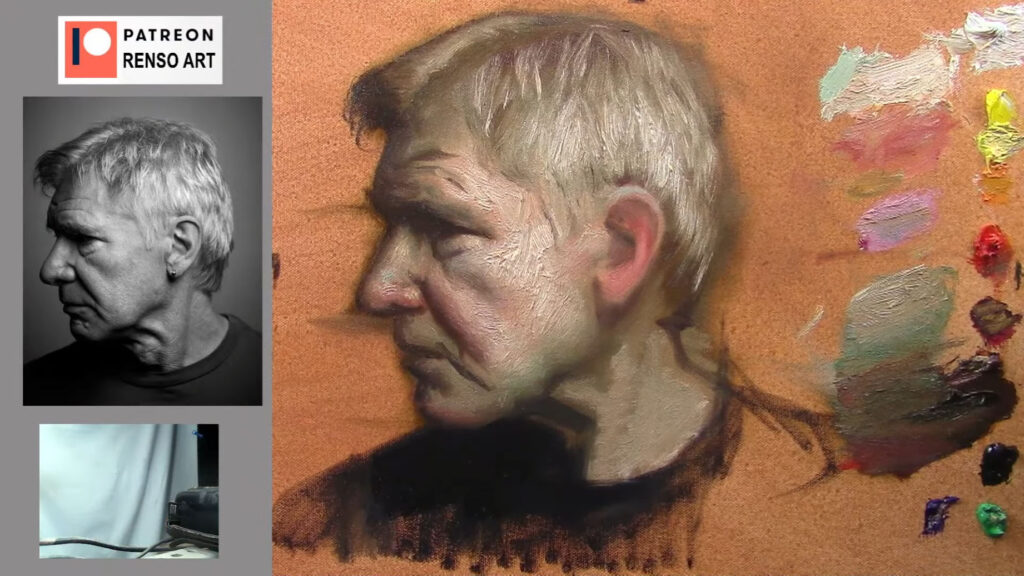
Texture is one of my favorite elements in painting. I use thick brushstrokes to add dimension to the face, creating a sense of depth and realism. The texture not only enhances the visual appeal but also adds a tactile quality that draws the viewer in.
For example, I might use texture to simulate the roughness of a beard or the softness of skin. By varying the pressure of my brush, I can create different effects that add character to the portrait. It’s a delicate balance, but it’s so rewarding when it works.
The Background: Choosing the Right Color
As I move to the background, I ask my viewers for their input. Should I go with teal blue, light gray, or green? Each color creates a different contrast with the portrait. After some thought, I decide on teal blue. It complements the warm tones of the face and adds a sense of balance to the composition.
The background is just as important as the subject. It shouldn’t compete with the portrait but rather enhance it. I always keep that in mind as I work.
The Final Touches: Refining the Portrait
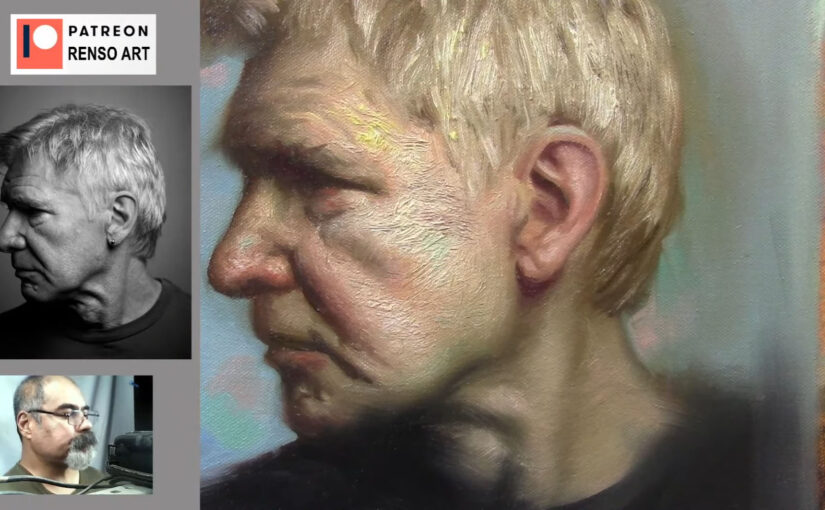
As I near the end, I focus on refining the details. I soften some edges to create a more natural look, while keeping others sharp to define the contours of the face. I add subtle touches of color to the nose, cheeks, and ears, enhancing the portrait’s realism.
I also pay attention to the light and shadow. By adding highlights and deepening the shadows, I create a sense of volume and depth. It’s these small details that bring the portrait to life.
Conclusion: A Portrait in the Making
This portrait is a reflection of my passion for art. Through careful observation, thoughtful color choices, and a love for texture, I’ve transformed a blank canvas into a vibrant, lifelike image. Painting is not just about the final product—it’s about the journey, the learning, and the joy of creation.
As I wrap up, I invite you to join me in future sessions. Whether you’re here to learn, to be inspired, or simply to enjoy the process, I’m glad to have you along for the ride. So grab your brushes, set up your palette, and let’s create something beautiful together.

Final Thoughts
Painting is a journey, and every brushstroke is a step forward. I hope this session has given you some insights into my process and inspired you to explore your own creativity. Remember, there are no rules in art—only possibilities. So trust your instincts, experiment with colors, and most importantly, enjoy the process.
Until next time, happy painting!
— Renso